Quick Summary
I set out to make my washer and dryer smart using energy-monitoring plugs and switches. This is a simple project for anyone just beginning with smart home automation. The purpose of this post is to describe one way to accomplish this.Making my "dumb" Washer Smart
I probably spent too much time on this project. It wasn’t even for me — it was for my wife. She complained about how long the washer and dryer take and said it would be nice to get notified when they were done. Our laundry room is in the basement, and she didn’t like having to walk down to check whether the cycle had finished.
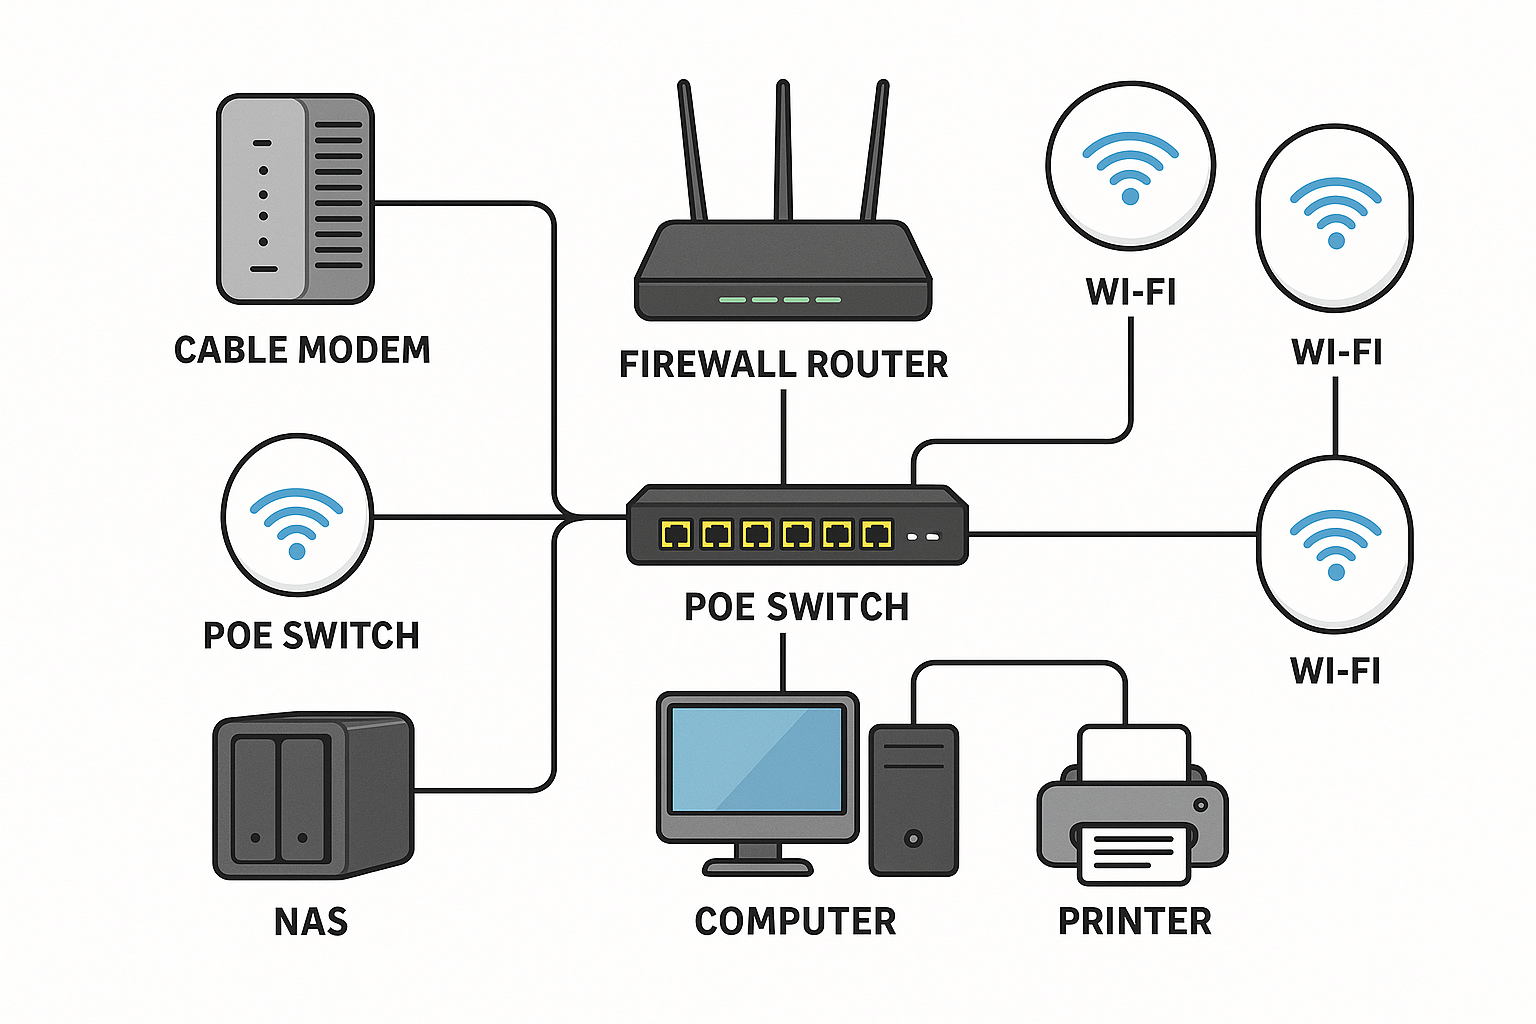
It was more complicated than I expected because of limitations in the applications. My devices worked with Alexa, SmartThings, and Tuya. I used the Tuya app in combination with Alexa to complete the program. There may be simpler and more elegant solutions, but this approach worked for me. Using the SmartLife app or Apple Home would probably have been even more difficult.
Started with an Energy Plug for the Washer
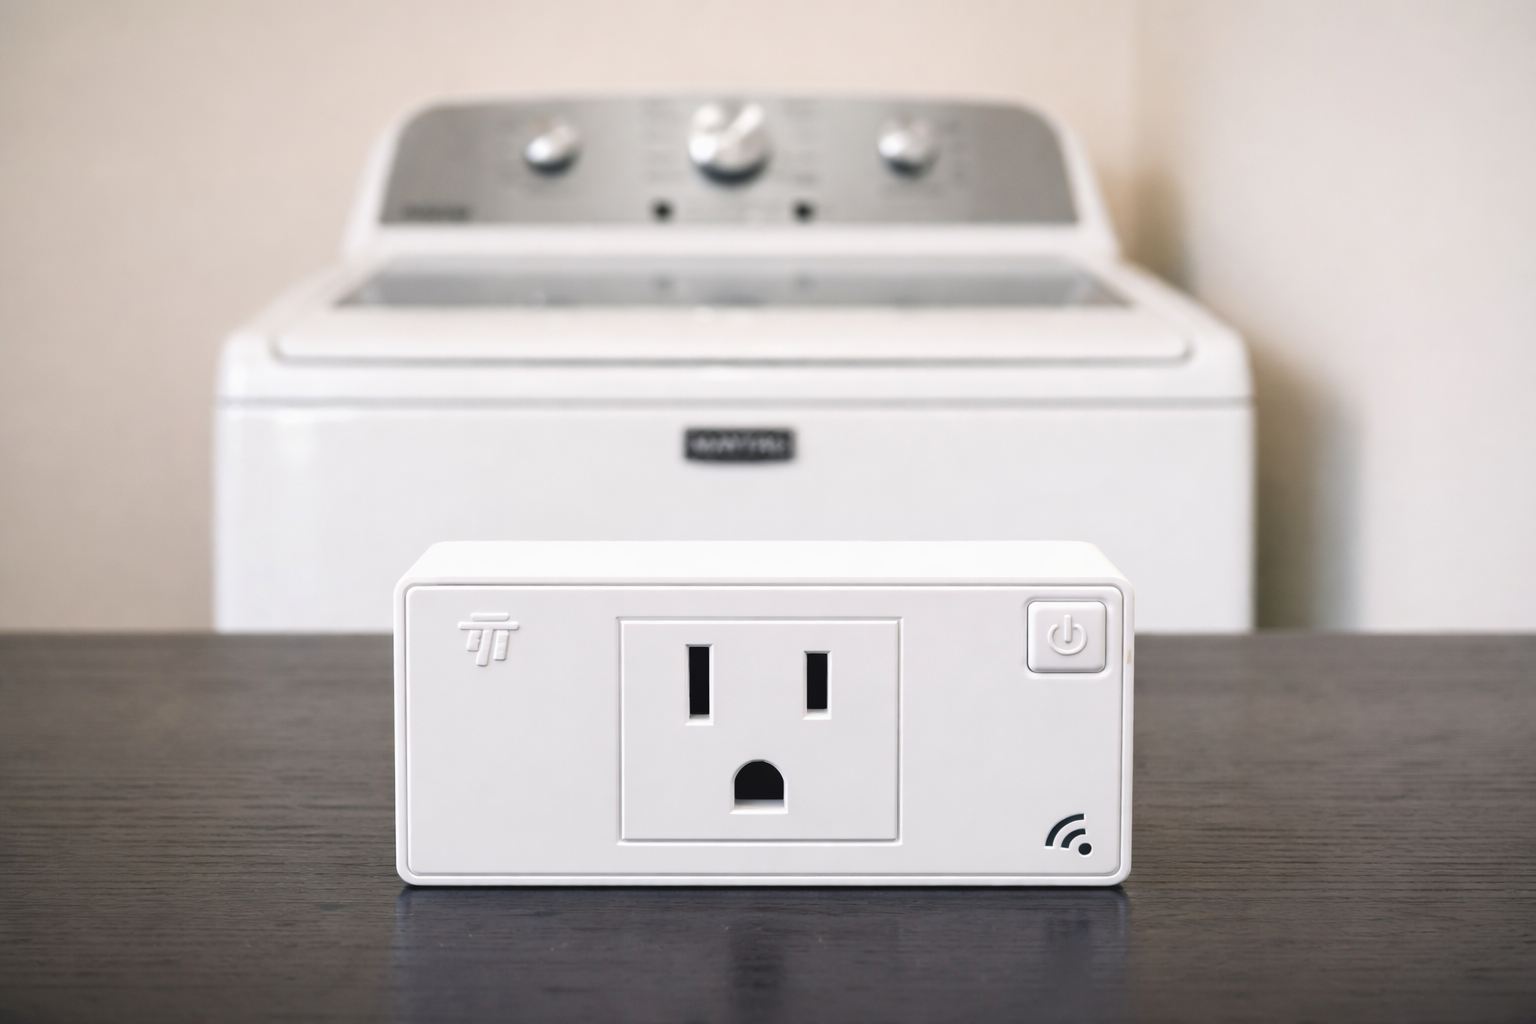
I started with an energy monitoring plug. I've seen posts of others using vibration sensors or door sensors. Since I had a few extra energy plugs lying around, I chose to use those. I though I could simply use the one monitoring plug to send a notification for both the washer and dryer based on their energy usage.
I looked around the house and found a plant light in our family room that I thought I could leverage as a signal. I thought I could do it with just the energy plug using a precondition of no high energy usage and then followed by low or no energy usage. Unfortunately that precondition won't allow you to trigger the second condition making it impossible to simply use one energy plug.
I experimented. Which I actually like to do. I love to learn and running small experiments is a great way to do it. Eventually I found that using the energy plug and two other dummy switches would get the job done. Initially I set up the dummy switches in the Tuya Developer platform as virtual devices. Unfortunately, you can only have one of each type of virtual device and I needed four of them. So after playing around with all the virtual devices, I finally gave up and found some unused outlet plugs to use instead of the virtual ones. I admit this seems kludgy but it gets the job done. The final solution is one energy monitoring plug and two regular smart plugs.
One Energy Monitoring Plug and Two Smart Plugs
Here is how the energy plug and two other smart plugs work. The other smart plugs are labeled washer running and washer finished.
The washing machine is plugged into the energy monitoring plug and turned on. Then I set up an automation in Tuya called Washer Started. That automation has a precondition that the two smart switches are both off, that is Washer Started and Washer Finished are both off.
When the energy monitoring plug senses the current above 2000mA, the automation turns on the first of the smart plugs (Washer Started). I put in a delay of 10 minutes because in some cyles the washer current will go to nearly 0 and then go back up above 2000mA when it switches to a spin cycle.
So when the washer is running, washer running switch is turned to on. A second Tuya automation has preconditions of Washer Finished off, and Washer Started on. Then when the current goes below 26mA, it turns on the Washer Finished indicator and turns off the Washer Running indicator. Then it turns off the Washer Finished indicator.
The washer notification was harder and that is because the washer goes through cycles and energy consumption bounces around a bit. The lowest recorded value I found was 25mA. (Initially I was using the "power" function of the energy plug but it didn't allow enough graduation.) I set up the washer running light to switch to on if the current went above 2000mA. That works pretty well.
The challenge is on the finish. The washer current reverts to about 25mA when it is finished, as well as sometimes between cycles. So I could get a false signal for done if the dryer was between cycles. I mitigated this by adding a short delay of 20 minutes to set the washer running signal to on.
I set a second automation with a precondition of running = ON and finished = OFF. It then looks for a current less than 26mA and it sets the finished indicator to ON.
I wanted to incorporate a voice notification so I set up another automation in Alexa for that. Once the Washer Finished switched is turned on, the Alexa program makes an announcement, "The Washer has finished" and then it turns the plant light in the family room green for a minute. After the minute is up, it sounds a bell and resets the light.
I know this seems like a complicated solution and if you have a better approach, I would love to hear it.
The "Smart" Dryer
Once I had the washer working, the dryer was actually easy. The power consumption is pretty constant for the dryer so I just used the current to determine whether it was running or not. When the power exceeeded 1000mA, the dryer was running and would turn on the Dryer Running Indicator switch. When the power dropped below 66mA, the dryer was finished and the automation turns on the Dryer Finished Indicator switch.
The first automation is Dryer Started. It has two preconditions - that both the outlet plugs (dryer started and dryer finished) need to be in the off position. Then, if the current in the energy plug goes above 1000 mA, it sets the dryer running switch to on, indicating that the dryer is running. I used the energy monitoring plug to determine that above 1000 mA is a reliable indication of the dryer running. So if it goes above that, the dryer is running.
The second automation is Dryer Finished. It also had two preconditions. The first is that the outlet plug for dryer started is ON and the second is that the outlet plug for dryer finished is OFF. So the starting point is that the dryer if running. At that point, if the energy drops below 66mA, the dryer has finished. (Unlike the washer, when the dryer stops running it does not restart.) If the dryer energy goes below 66mA, then the routine changes the dryer indicator to ON. I put in a 10second delay and then the routine resets the running and finished indicators back to 0, ready for the next load.
Note that the specific current values will vary by appliance. I did a bunch of testing and found these to work for me. I started by using power in watts but found that current provide more granularity.
As with the washer automation, I have an Alexa routine that monitors the Dryer Finished Indicator and triggers and announcement and changes the plant light to green.
This works perfectly though it seems like this could have all been in one program without switches and I will come back to that in a moment.
A Working Solution
Now that I had a working solution, a few notes. First, the Tuya App is frustrating. It locks up sporadically, especially if the device you are using to edit the routine is not on the same wifi as the devices you are trying to control.
A second frustration is that you cannot programmatically change the color of a bulb. You can select "color" from the mode menu but no where does it allow you to set the color. Hence I had to use Alexa for the plant light change to green.
Finally, since I did not have any sound devices connected I usedAlexa. Alexa is pretty robust when it comes to automations and I probably could have used it for the entire solution. An easy Alexa routine will change the color of the signal light to green and make a brief announcement that the washer had finished. This works pretty well for now though it took two platforms and 3 plugs for this to work. Alexa could not do it all because it could not read the energy plug. And Tuya could not change a light green and make an announcement. So I use Tuya to figure out whether it is finished and Alexa to announce the results. Inelegant at best.
I read that the Tuya Development platform will let me set variables so I am going to attempt to use that to free up the 4 outlet plugs I am using to track status. No point in tying up 4 physical plugs if I don't need to.
A downside of this configuration, in addition to the number or platforms and devices, is that it won't run if the internet is down.
Bottom Line
Making your dumb appliances smart is an easy way to begin learning to use smart devices and programming. This blog describes a solution for this. It is not elegant, it could fail easily, and it is not something most people would want to use. But it works for now.
At some point in the future I may recreate this approach in Apple Home. This will require me to buy new energy monitoring plugs that work with Apple Homekit.
Let me know if you try this by leaving a comment below.